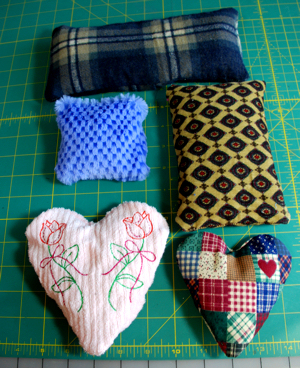
After doing the scented mug mats, I decided I would like some body or hand warmers that could also be used as ice packs. I did a bit of research and (WHOLE) corn seems to be the best for holding heat and since I had to go to town anyway for an appointment Monday, I added the local feed store to my list of stops. On the way to the feed store, I passed the Natural Grocers store that had recently opened so I stopped there first to check it out. Good thing hubby wasn't with me! There was an aisle that was like an herbal heaven to the senses- full of dried herbs and spices! I kinda went a little crazy and purchased several varieties of herbs and spices. More scented mug mats? Sachets? Tea? My mind was racing with all the stuff I could make with these goodies I was taking home.
 |
| In-the-Hoop Corn Cozies in 5 sizes |
As I was walking out of the store, I was hit with a cold blast of air. Brrrr! The predicted storm was on it's way! I couldn't get my box of goodies loaded in the truck fast enough (Note to self: they don't have sacks- remember to bring my own next time). Next stop, the local IFA- all they had were 50 pound bags of whole feed corn. I definitely didn't want THAT much, but that's the only size they had and figured if I didn't use it all, I could feed it to the squirrels or the family of deer we occasionally see crossing the back of our property.
Having received a body warmer for Christmas years ago that we finally wore it out, I knew I needed three things- a cover, a bag and of course the filler. So I began creating the designs for this week. These
In-the_Hoop Corn Cozies are so easy to make and if you've never tried applique techniques on your embroidery machine, this a wonderful project to learn how. I've included photos with the instructions to help you along the way.
So what did I do with all those herbs I bought? Well after explaining to my darling hubby why I "needed" them, I mixed lavender, calendula and chamomile buds together and created "dream pillows" using the heart shaped corn cozies. It has always taken me forever to get to sleep (I think by nature, I'm a night owl anyway) and while I use a line of lavender products to relax and fall asleep easier, that gets a bit expensive. Now I have my own little lavender scented sachet under my pillow to help me drift off into the Land of Nod. It's a good thing I made more than one, because my Mom decided to keep the one I made from chenille for herself! And as for thinking, I wasn't going to use up that 50# bag of feed corn, I'm going to have to make more because the ones I made have now been confiscated by both my parents AND my kids! LOL I guess my darling hubby will have to put up with another night of my cold feet!
Now if you're wanting a corn cozies larger than what will fit in a 6x10 hoop. Here's a recycling project you might want to give a try! Gather up some old jeans, some old flannel pajamas or shirts and get your cleaned corn.
To be honest, I had a great time creating and making the corn cozies but my least favorite part was cleaning the corn! You want WHOLE Corn (also known as Deer or Wildlife Corn) Make sure it’s clean- meaning that the kernels are not cracked or broken and all sticks, leaves, rocks, etc. have been removed- kinda like sortin' beans.
I used a plastic collander to shake out the little broken pieces and then used an old cookie sheet for sorting out the bad kernels. BTW, those little cracked or broken pieces do make popcorn so make sure you get them all out!
Now that the corn has been cleaned, set it aside and get those old jeans and flannel jammies out. Decide how big you want the corn cozies to be and cut a leg off (of the jeans, silly : ). I didn't want the extra bulk, so I cut off the double seams too. Add enough in length for stitching the bag closed. .
Next get your flannel, lay your jean piece on top and measure twice the length plus 2 inches (for hemming each end) and about an inch wider than than your corn bag. I used an old pair of child-sized flannel pajama pants and one leg was perfect for making 2 covers. Since I was able to use the entire length of the leg, I eliminated having to hem each end of the cover.
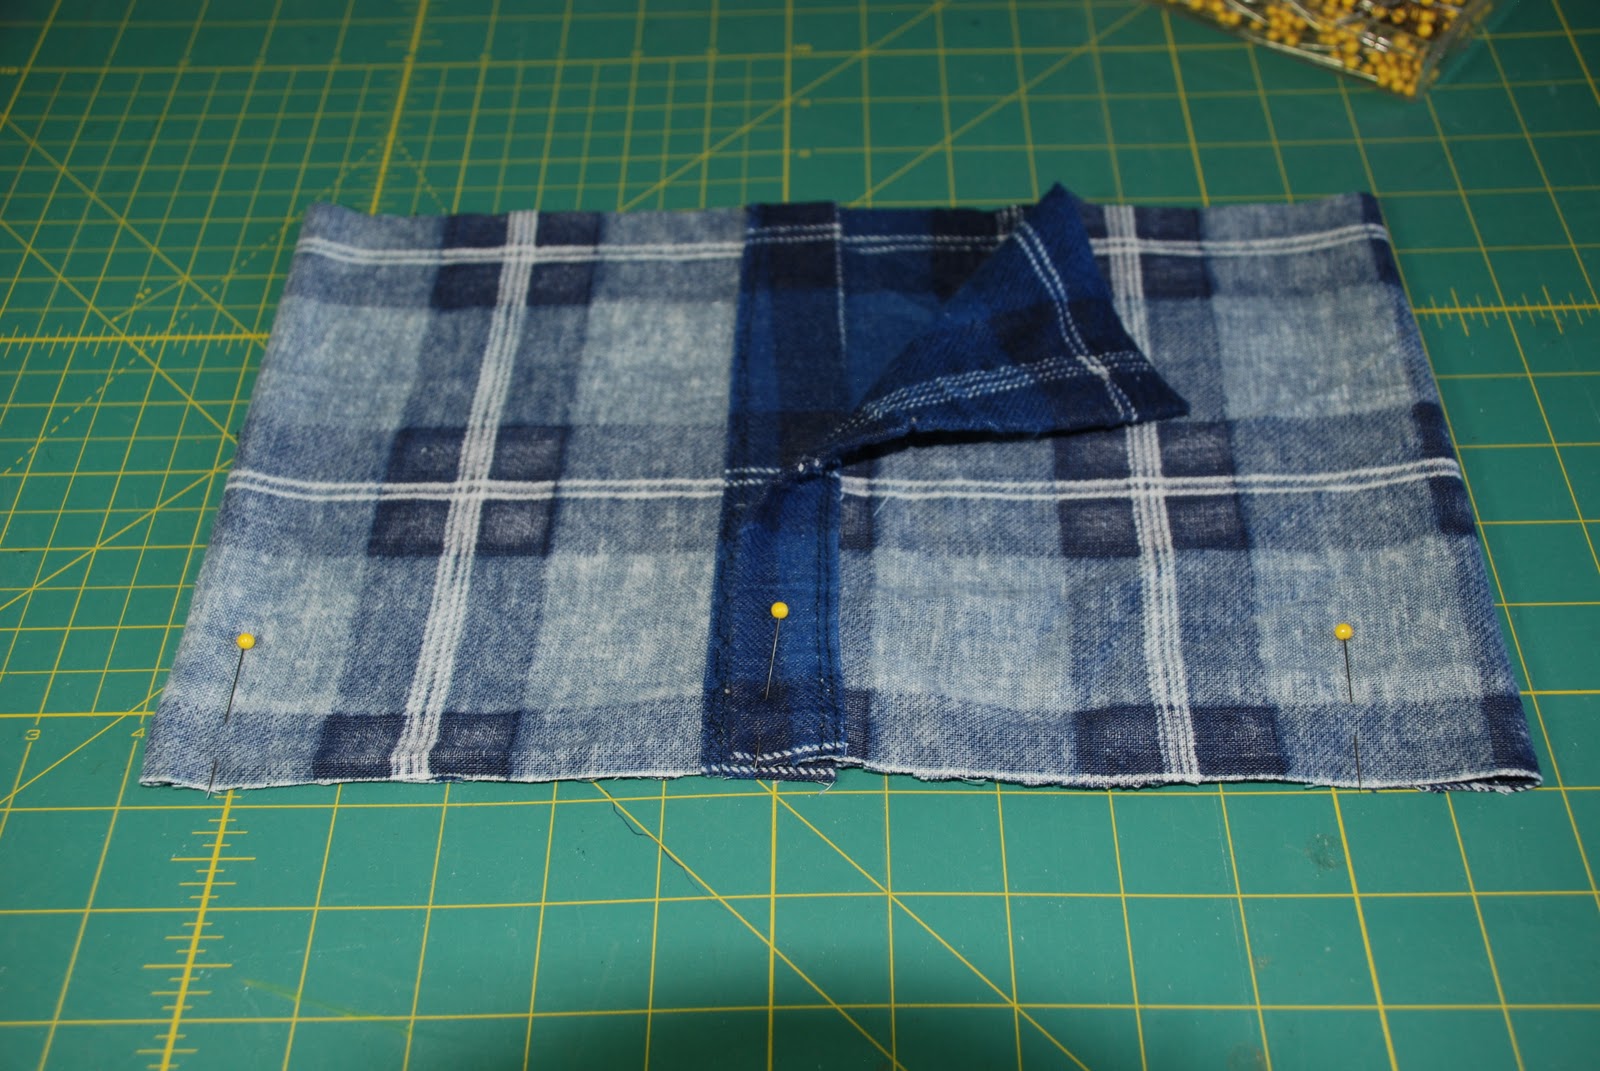
With right side up, fold each end towards the center overlapping your hemmed edges. Pin together, stitch a 1/4 inch seam allowance, turn right side out. Your corn cozy cover is now done.
For the corn bag, turn your jean leg wrong side out and stitch one end of the tube. I double stitched for added strength. Turn right side out, fill 3/4 full with corn and stitch the top closed. You want your corn bag to be pliable- like a bean bag. This will allow the corn to heat evenly and fit nicely around your neck or shoulders.
You can make the covers out of anything you like, but please only use 100% cotton fabrics for the corn bags. I wouldn't want anyone starting a fire in their microwave and burning down the house! Depending on the size of your corn bags and because microwaves vary, please use caution and don't overheat. I made 3 different sizes using the denim and the largest took approximately 3-4 minutes to heat, while the smallest took about 1-1/2 minutes.
In the photo above, 2 corn cozies were made from the one pajama leg and the red one was from the sleeve of an old flannel shirt.
Have fun and as always...
Happy Stitching!
Nathenia